Get ready to see a picture of the BEST cake I have ever made.
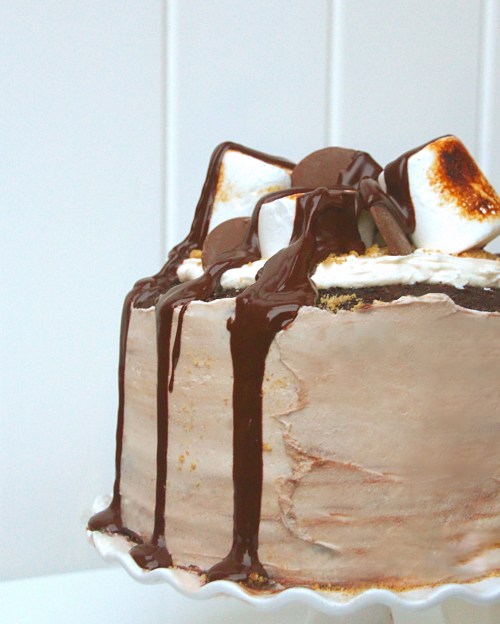
I know this one comes with a big tag line, but I really do believe this could be the greatest cake I’ve ever baked. I think I find this cake so perfect because of its array of textures and flavours – layers of crunchy digestive biscuit, chewy marshmallows, silky vanilla buttercream and rich, moist, chocolate sponge… maybe it’s because I’m a HUGE chocaholic… or maybe it’s just because I’ve always underestimated the chocolate sponge-vanilla buttercream combination.. who knows!

Either way I find this the cake is impeccably balanced. And when cake and s’mores are combined, you know something good is about to happen. I hope you enjoy baking this cake, and find it as wonderful as I did!
The cake I made consisted of 4 sponge layers, but I have written the following recipe as a (less excessive) 2-sponge cake, as any normal cake would be baked! But do feel free to double up the recipe and go all out to make a showstopper!
Happy Baking! Sofia x
Ingredients: The ingredients below are given in cups as I didn’t weigh them into grams when I baked this cake (sorry!), but I will be updating the recipe in due course if you don’t like using cup measurements 🙂
- 2 cups all-purpose flour
- 2 cups sugar
- ¾ cup unsweetened cocoa powder
- 2 teaspoons baking powder
- 1½ teaspoons baking soda
- 1 teaspoon salt
- 1 teaspoon instant coffee
- 1 cup milk
- ½ cup vegetable oil
- 2 eggs
- 2 teaspoons vanilla bean paste/ extract
- 1 cup boiling water
- 600 icing sugar, sifted
- 300g butter, softened
- 2 tsbp. milk
- 1 tsp.vanilla paste
- 5 digestive biscuits
- 1 bag of marshmallows
- chocolate and optional extras to decorate
Method:
- Pre heat your oven to 180°C, and grease two 8 or 9″ baking tins with butter.
- Place the flour, sugar, baking powder, baking soda, cocoa and salt into a large mixing bowl. Whisk to produce a uniform mix.
- Add your eggs, oil, milk and vanilla to the dry ingredients and whisk well to combine.
- Finally, to one cup of boiling water, add the instant coffee and stir. Pour slowly into your mixing bowl and whisk to produce a thin chocolate batter mixture – the secret to this super moist cake!
- Pour evenly into your cake tins and bake in the oven for roughly 30mins, until the cakes are springy to the touch!
- Remove from the oven and allow to cool completely.
- Whilst your cakes cool, chop a handful of your marshmallows into small bite sized pieces, reserving the rest for decoration. Also, crush your digestive biscuits into small crumbs using a rolling-pin.
- Next, make the buttercream – Place your softened butter into a large bowl or into a free-standing mixer. Beat using a k-hook or use a handheld electric whisk. Sift half of the icing sugar into the butter, and whisk until combined. Add a tbsp. of milk, followed by the vanilla and whisk again. Sift in the remaining icing sugar and beat again. The buttercream should be silky and smooth – if yours feels too firm to spread, add some more milk 1 tbsp. at a time, until the consistency is correct.
- Finally fill and decorate your cake! Place one chocolate sponge in the middle of your plate or cake stand. Spread 1/4 of the butter on top of the cake. Sprinkle a 3/4 of the biscuit crumbs on top of the buttercream, followed by all of the marshmallow pieces, your cake will look extremley full and indulgent, yum.
- Place your other sponge on top of the cake and spread 1/3 of the remaining buttercream on top.
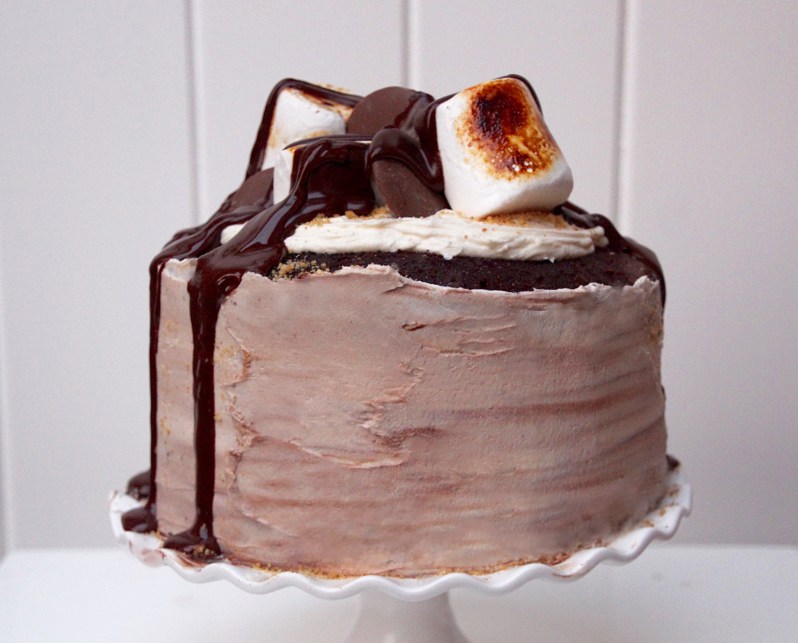
- With the buttercream that’s left, spread it evenly and gently around the perimeter of the cake, using an off-set palette knife. Spread until all of the chocolate cake is covered – I kept an inch of the top of my cake exposed because I liked the way it looked, but feel free to design your cake in your own style 🙂
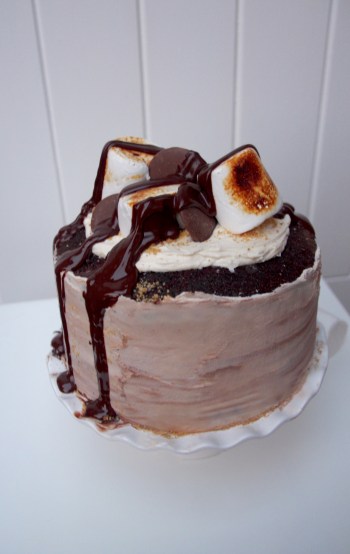
- Lastly, decorate your cake with marshmallows, biscuit crumbs and melted chocolate!
- With my left over melted chocolate, I spread little lines onto the cake, and then with a cake scraper I geniality dragged the chocolate covered buttercream along the outside of the cake to create those ombre-chocolate tones ❤
Enjoy! Sofia xxx
- Notes – the chocolate sponge recipe is from the amazing Add a Pinch blog, and its the only one I ever use 🙂

love your cakes
LikeLike